Visual Studio 2013 has ability to integrate Git source control. The blog post will shows in details how to configure Visual Studio to use Git, with remote repository at git.com. Configuration can be divided in several parts.
1. Installing required softwares
2. Creating SSH key and uploading to Git server
3. Configuring local Git repository and sync with remote server
4. Check in and check out source code.
Installing Git Extensions
Only software you have to install is Git Extensions for Windows which you can find on: http://code.google.com/p/gitextensions/
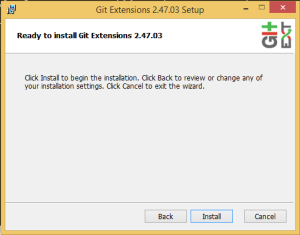
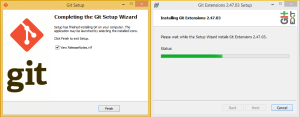
1. After you download Git Extension installer, start the installation process. The following images show step during the installation process.

At this step,in some case you can get the error in the installation with the following message:
'Installation directory must be on local hard drive'
In that case, open Command Prompt with Administrator priviledge, go to folder GitInstaller is downloaded and type the following command:
msiexec /i GitExtensions.msi WIXUI_DONTVALIDATEPATH="1"
where GitExtension.msi is the name of your installer.
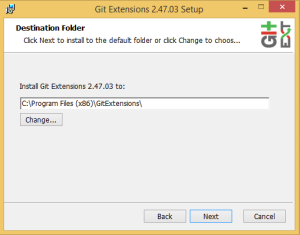
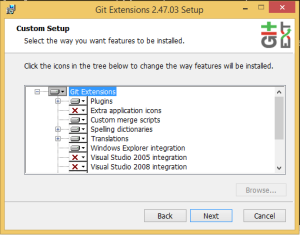
Continue with installation:
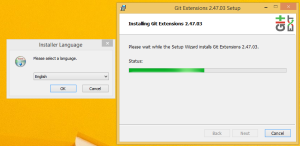
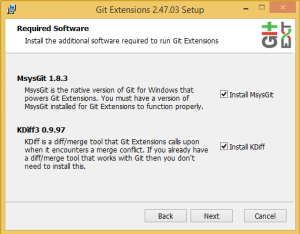
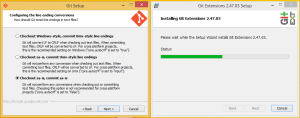
Now proceed with installation of two installers: KDiff and GIT. Follow the default setup options:

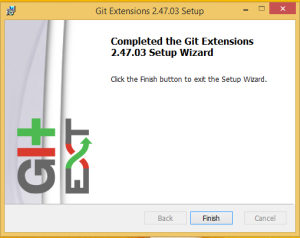
Finish the installation process:
Creating SSH key and uploading to Git server
After you installed Git Extension open the Git Extention from Desktop :
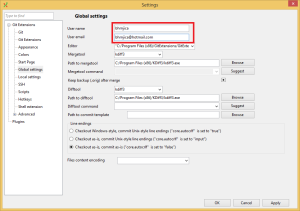
Put UserName and Email to login information:
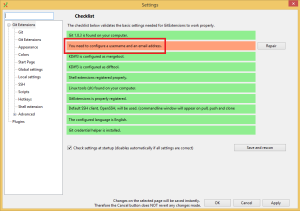
By clicking on OK button, Git Extension displays start screen. From Tools menu choose Git Bash command line tool to create SSH key.
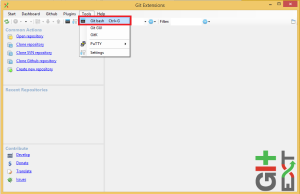
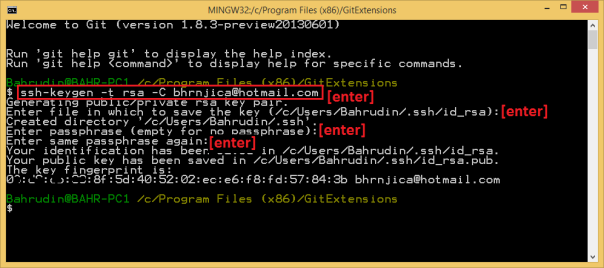
From the picture below follow the instruction how to create SSH Key.
type: ssh-keygen - rsa -C email@company.com, and press enter 4 times. By pressing Enter you accept default options.
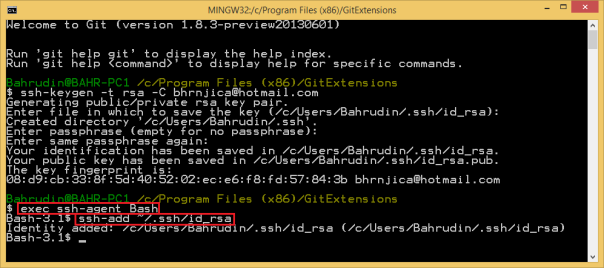
After you create the key, you have to add it to local agent.
1. First start local agent: exec ssh-agent Bash
2. Type ssh-add ~/.ssh/id_rsa
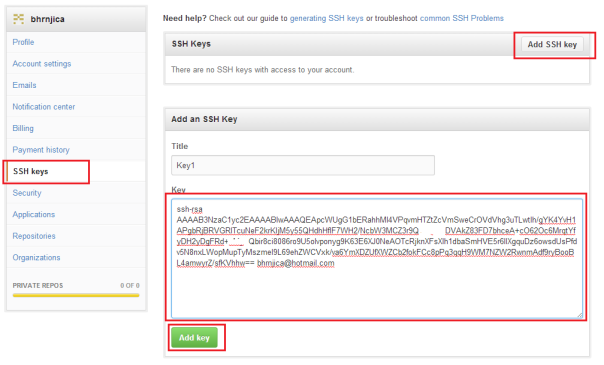
Add SSH key to GitHub
1. Open you Git Hub account
2. Go to Settings
3. Add SSH Tab
4. Press AddKey
5. Copy the Content of the id_rsa.pub (see picture below)
6. Paste to GitHub SSH key tab
You can test your account by typing ssh-T git@github.com to command line.
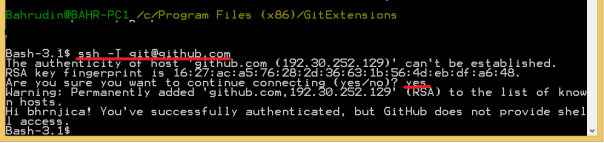
Now you are ready to use GitHub Source control.
Configuring local Git repository and sync with remote server
1. Define local repository path: C:/tfs/Git
2. Open GitExtensions: Open local repository:

2. Initialize local repository

Setup Remote Repository by specifing Name and SSH path of the project:

By pressing Save Changes from the last image, you setp the project and it is ready to be opened in Visula Studio.
Open Visual Studio 2013
Add local repository to Git
Double click on the project to get solution file to open:

Posted
May 07 2014, 09:54 PM
by
Bahrudin