Yesterday at Ignite conference .NET team has announced the Jupyter Notebook for .NET languages C# and F#. This is a huge step ahead for all data scientists who want to do data science and machine learning on the .NET platform. With C# Jupyter Notebook you can perform data exploration and transformation, training, evaluation and testing your Ml models. All operations are performed by code block and you can quickly see the result without running and debugging application every time you want to change something. In order to see how it looks like, in this blog post we are going to explore some of the basic functionalities in C# Jupyter Notebook.
How to Install .NET Jupyter Notebook
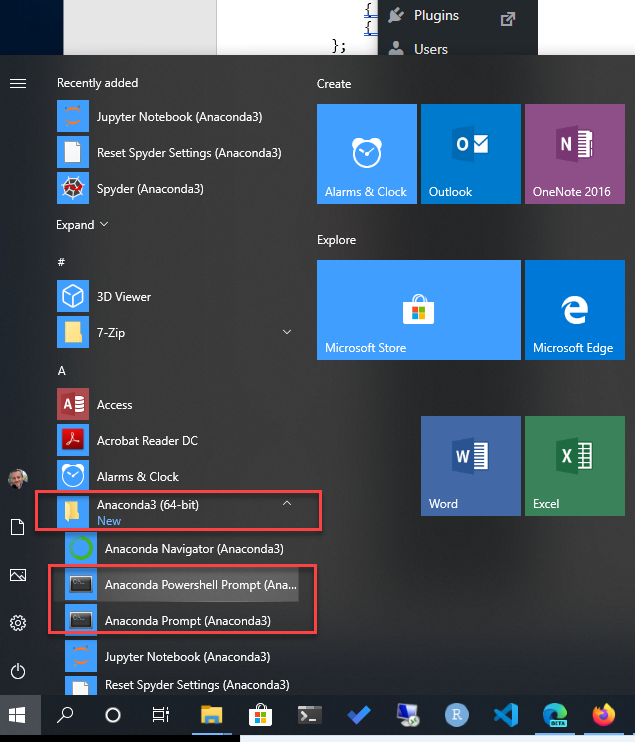
In order to install Jupyter Notebook you can see the official blog post, anyhow here I am going to present this process because it is very short and easy. Before install .NET Jupyter components, you have to install the latest version of .NET SDK and Anaconda. Once you have Anaconda installed on your machine, open Anaconda Prompt from Windows Start Menu.
To run Anaconda Prompt you have two options:
- to open power shell or
- to open classic command prompt.
Select Anaconda Powershell Prompt, and the powershell window will pop up. Once the powershell prompt is opened we can start with the installation of Jupyter Notebook components. The first step is to install the dotnet try global tool.
Type this to cmd:
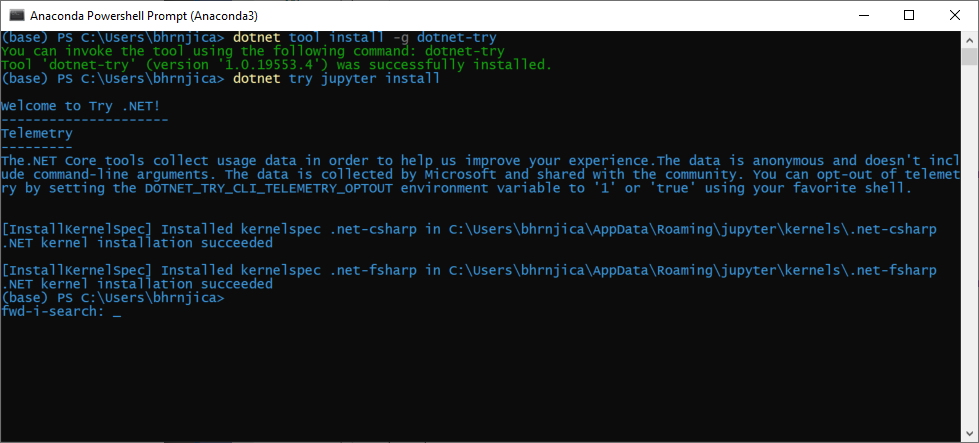
dotnet tool install -g dotnet-try
After some time you should get the following message:

Then we need to install .NET Kernel by typing the following command:
dotnet try jupyter install
Then the following message should appear:
In case you have any problems with the installation please refer to official blog post or post an Issue at https://github.com/dotnet/try/issues.
Also note that this version of Jupyter Notebook is in preview, so not all actions will work as you expected.
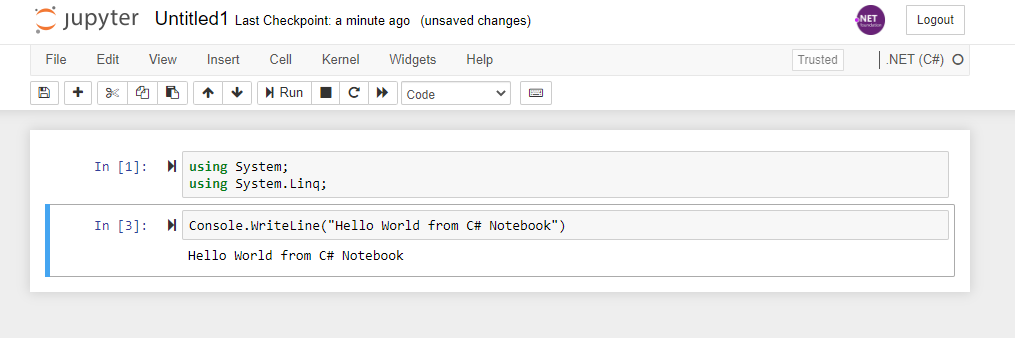
Now that you have installed C# Jupyter, you can open Jupyter notebook from the Anaconda navigator, or just type Jupyter Notebook in to Anaconda Prompt. Once we did that, your default bowers pops up and shows the starting directory in the Jupyter Notebook. If you click New button, you can see option to create C# and F# notebooks. Press C#, and the new C# notebook will appeared in the browser.

Try some basic stuff in notebook.
In the next blog post we are going to explore more and see some of the coolest features in C# Jupyter Notebook.