Windows Azure Connect is used to configure IPsec protected connections between one or more machines (physical or VMs) in your local network, and Web roles, Worker roles, or VM roles.
Connect can be accessed in new Windows Azure Portal (currently BETA):https://windows.azure.com/

If you want to use it click on Install. After some clipboard URI copy (just press install and you will see what I mean) the simple installation wizard will start installation of required local bits.
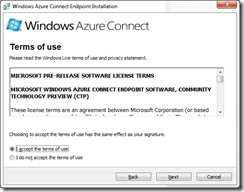
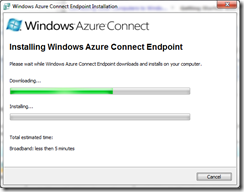
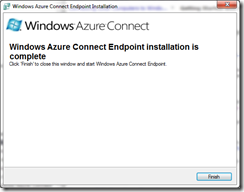
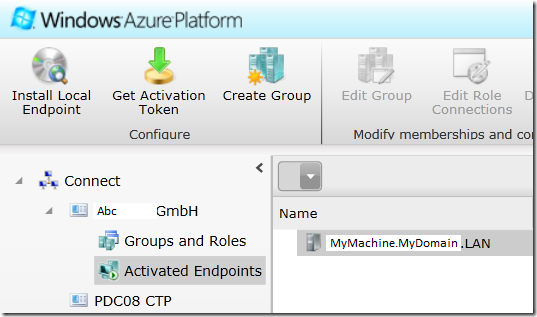
After Connect Endpoint is installed, it will automatically be activated after around 10 to 30 seconds. Once a local machine is activated, it will appear in the Virtual Network of the Management Portal when you select the “Activated Endpoints” node or the “Groups and Roles” node.
After the connection is activated you can experience following:
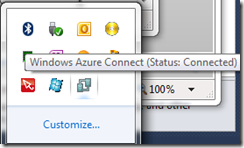
Note then when you install the local endpoint software, a firewall rule is created for Internet Control Message Protocol version 6 (ICMPv6) communication. This rule allows ICMPv6 Router Solicitation and Router Advertisement (Type 133 and Type 134) messages, which are essential to the establishment and maintenance of an IPv6 local link. Do not block this communication.
After successful install of local endpoint the development portal will show it as activated:
For more information go here.
Now, we can create a machine group that includes your local machines. You use these machine groups to manage connectivity between resources.
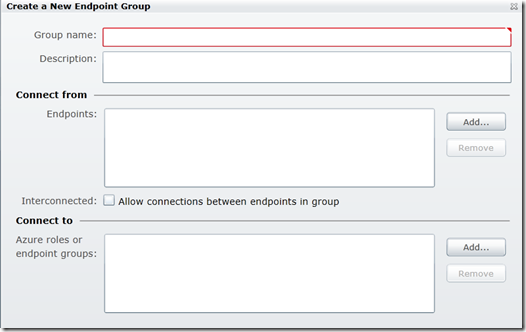
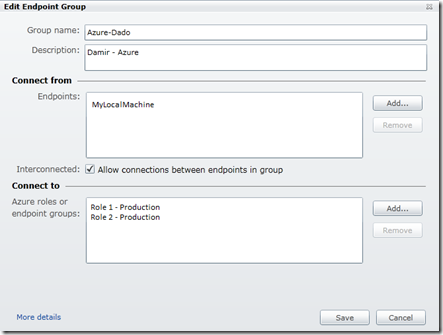
In the list of endpoints (connect from) you can add any local endpoint. The local endpoint will appear here after you have installed local endpoint as described above. Now, you need to add some role in “Connect To” list.
To do this, first click on Get Activation Token:
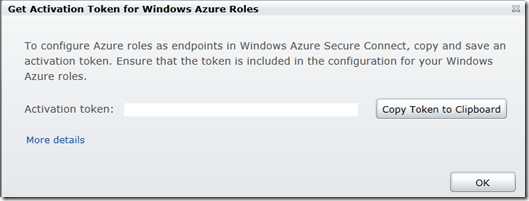
In the Solution Explorer of project which contains the activating role, navigate to an existing role that you want to activate, right-click the role, and then click Properties. In the Properties sheet, select the Virtual Network tab. Select the Activate Windows Azure Connect check box, and then paste the activation token in the text box:

After this step SCDEF file will contain:
<WebRole name="Daenet.TestService">
<Sites>
<Site name="Web">
<Bindings>
<Binding name="HttpIn" endpointName="HttpIn" />
</Bindings>
</Site>
</Sites>
<ConfigurationSettings>
</ConfigurationSettings>
<Endpoints>
<InputEndpoint name="HttpIn" protocol="http" port="8080" />
</Endpoints>
<Imports>
<Import moduleName="Diagnostics" />
<Import moduleName="Connect" />
</Imports>
</WebRole>
</ServiceDefinition>
and CSCFG file will contain:
<ConfigurationSettings>
<Setting name="Microsoft.WindowsAzure.Plugins.Diagnostics.ConnectionString" value="UseDevelopmentStorage=true" />
<Setting name="Microsoft.WindowsAzure.Plugins.Connect.ActivationToken" value="************" />
. . .
</ConfigurationSettings>
Now, it is crucial to publish some Windows Azure hosted solution. After you do that every role in that solution will appear under “Connect To” endpoints.
After the group (VPN) has been setup you need to start you hosted service. Then you will see something like:
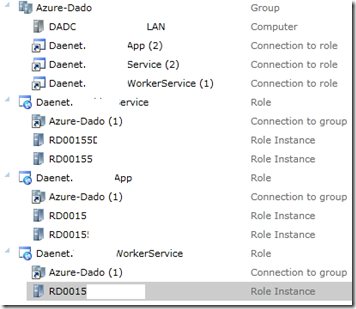
This picture describes one local machine DADC.LAN and three roles Daenet.App(2), Daenet.Service(2) and Daenet.WorkerService(1). Numbers in brackets specify configured number of instances 2, 2 and 1.
RD00** are machine names in Windows Azure.
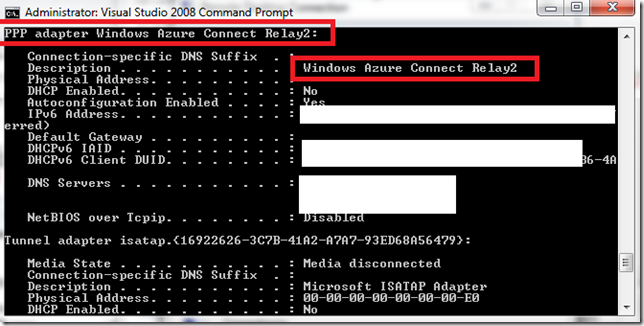
To see you local endpoint experience open the console and type ipconfig /all. You will notice regular PPP connection with IPSEC support.
Related articles:
Using Endpoint Groups:
http://msdn.microsoft.com/en-us/library/gg432959.aspx
Firewall Settings:
http://msdn.microsoft.com/en-us/library/gg433061.aspx
Tutorial: Setting up Windows Azure Connect:
http://msdn.microsoft.com/en-us/library/gg508836.aspx#Connectivity
Posted
Feb 04 2011, 12:16 AM
by
Damir Dobric